Page History
...
| Excerpt | |||||||||||
|---|---|---|---|---|---|---|---|---|---|---|---|
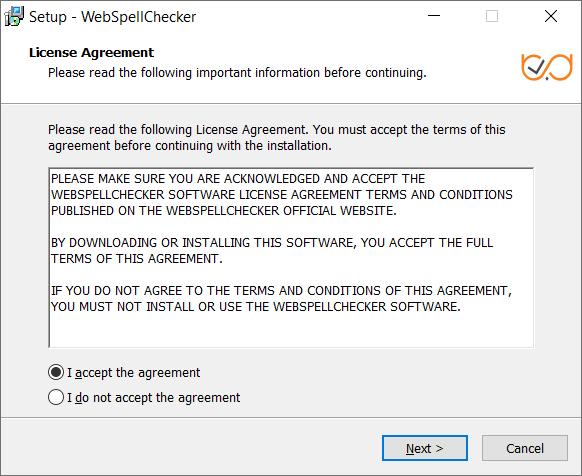
2.1. Run the installation package (e.g. wsc_app_win_x64_release_5.5.x.x_xx.exe). 2.2. Before proceeding with the installation, read and confirm WebSpellChecker Software License Agreement.
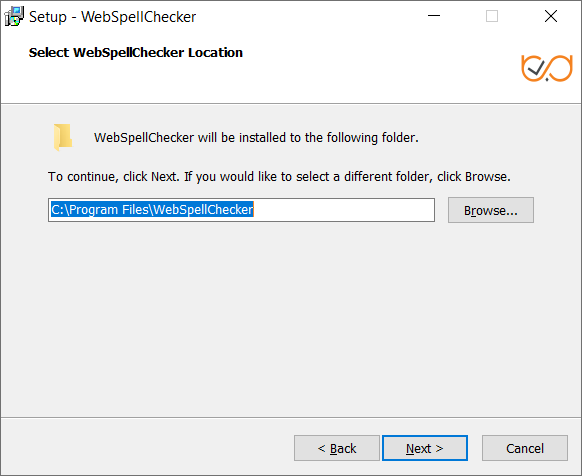
2.3. Select WebSpellChecker installation location and click Next to proceed. The default WebSpellChecker installation folder is C:\Program Files\WebSpellChecker. Click Browse… and specify a different installation location if it is necessary.
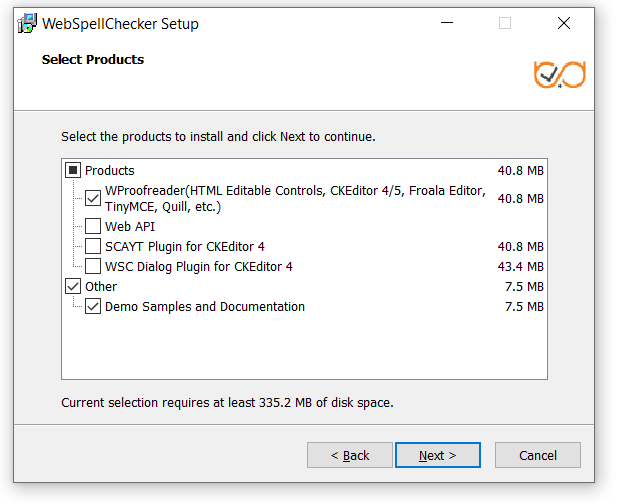
2.4. Select the products to install and click Next to proceed. By default, WProofreader as well as Demo Samples and Documentation are installed.
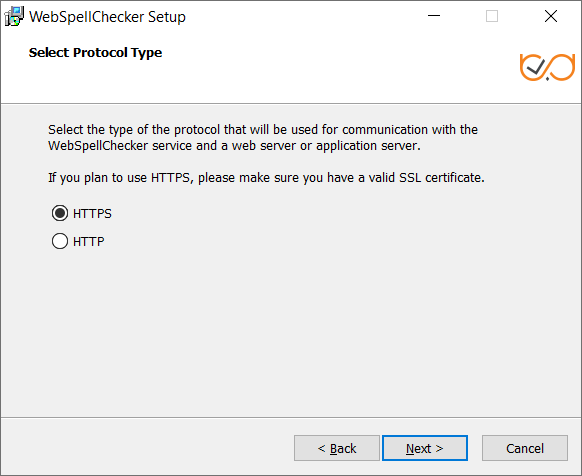
2.5. Select the type of protocol that will be used for communication with the WebSpellChecker service and a web server or Java application server and click Next to proceed. By default, HTTPS is selected.
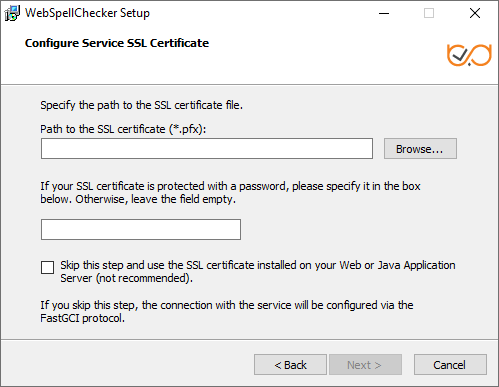
2.6. If you have selected HTTPS on the previous step, specify the path to a valid SSL certificate file (*.pfx file) and type its password to establish a secure connection. Otherwise, this step is not available.
| _include_wsc553_server_install_application_SSL_options_apache_tomcat | _include_wsc553_server_install_application_SSL_options_apache_tomcat | |||||||||
| nopanel | true |

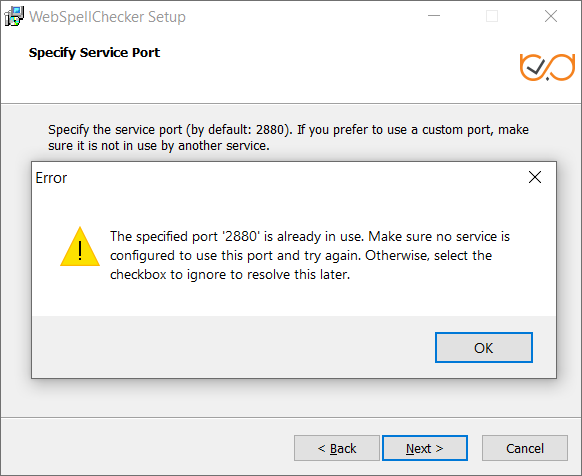
| Note |
|---|
If you also have an installation of WebSpellChecker Server on the same server, and AppServer is running under the port 2880, you need to select a different unused port (e.g. 2881) for this installation. |
...