Page History
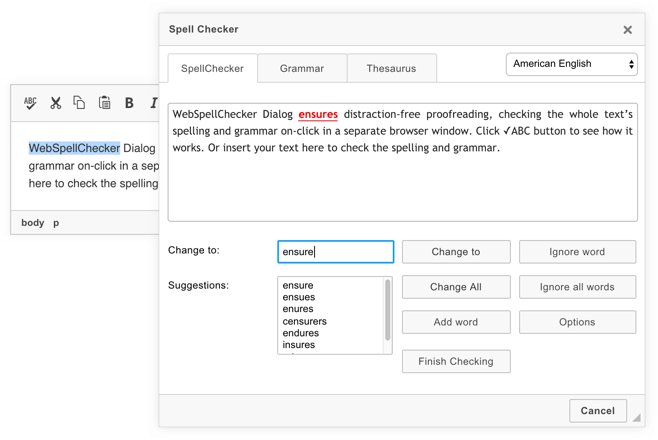
This guide outlines the main steps that you need to follow in order to integrate and configure the WebSpellChecker (WSC) Dialog plugin for CKEditor 4. All the described steps are provided for the Cloud version of WSC Dialog plugin for CKEditor 4.
| Tip |
|---|
Good to know:
|
1. Initialize CKEditor 4
Before integrating and configuring the WSC Dialog plugin, CKEditor 4 should be properly configured in your web application. If you haven't done it yet, please download the latest version of the CKEditor 4 standard package and refer to CKEditor Quick Start Guide.
...
| Code Block | ||||
|---|---|---|---|---|
| ||||
config.wsc_customerId = 'encrypted-customer-ID'; |
4. Adjust Default Settings
Define additional WSC parameters (e.g. change default language, adjust dialog size, etc.). Refer to a full list of WSC Dialog API parameters and possible values in WSC Dialog Parameters for CKEditor.
| Code Block | ||||
|---|---|---|---|---|
| ||||
config.wsc_lang = 'de_DE'; config.wsc_height = 800; config.wsc_width = 800; |
...
