This guide will help you perform a complete uninstall of WebSpellChecker Server on a Windows-based environment.
If you have any custom settings and/or dictionaries that you plan to reuse, you need to back up them before uninstalling, migrating, and upgrading.
1. Automated Uninstall Using a Wizard
Uninstall the existing copy of the application as described below.
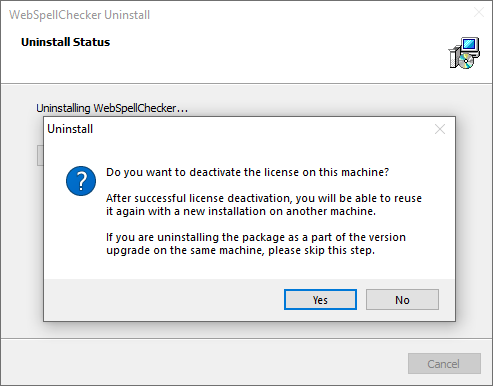
1. Stop AppServer if it is running. 2. Launch the uninstall wizard. Choose between two options below: Option A: Option B: 3. Confirm if you want to uninstall WebSpellChecker Server and all its components. 4. Confirm if you want to deactivate a license on the current server or skip this step if you perform an upgrade. Please note that if you want to install your application package on a different server, you need to deactivate your license first. 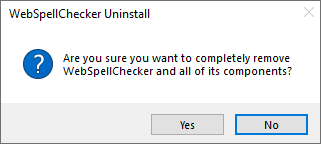
2. Manual Uninstall
If the uninstalling process described above fails, and it is impossible to uninstall the package, follow the steps below for the manual process.
1. Stop AppServer if it is running.
2. Go to Windows Start –> All Programs –> WebSpellChecker –> AppServer –> Uninstall AppServer service to uninstall the AppServer service.
3. Manually clear the contents of the WebSpellChecker directory located in C:\Program Files\WebSpellChecker.
4. Go to Windows Start –> Control Panel –> Program and Features –> WebSpellChecker –> Uninstall. This should remove the remaining WebSpellChecker records from Windows system registry.