1. Download Installation Package
Download WebSpellChecker application package for a corresponding version of your operating system (OS). By default, it is provided on a license purchase or maintenance renewal. You can also request it contacting us at [email protected].
2. Install WebSpellChecker
For detailed installation requirements, refer to Installing WebSpellChecker on Apache HTTP Server guide.
3. Activate License
On this step you need to choose whether to run the license activation process. If you want to go ahead with the license activation, press Enter, then specify the License Ticket ID, and press Enter to activate the license automatically. If you already have a license activated or you prefer to proceed with the license activation step later, you can skip this step. Visit the License activation on Linux guide for more details on how to activate a license on a Linux server.Step 9: Activate License.
Do you want to proceed with the license activation? Enter 'y' or 'n' [y]:
Specify your License Ticket ID: Your_License_Ticket_ID
Do you want the installer to attempt to activate your license automatically?
The automatic activation requires the Internet connection available on this machine.
Otherwise, please proceed with the manual activation instead. Enter 'y' or 'n'. [y]:
4. Finalize Installation
Congratulations! The WSC application has been successfully installed to /opt/WSC directory.

Step 10: Finalize the WSC application configuration under a chosen Web or Application Server:

If it is required, enable the rewriting options in the Apache HTTP Server configuration file.

a. Open /etc/httpd/conf/httpd.conf file.
b. Find “/var/www/html” directory substring.
c. Change ”AllowOverride None” to “AllowOverride All”.
5. Configure Grammar Engine
If the path to Java Virtual Machine (JVM) which is required for the Grammar engine is not auto-detected, the script will ask you to specify the correct path to JVM again. You have an option to skip this step during the setup process and set a path to JVM manually. Refer to Enabling grammar engine guide to find out more.Step 11: Specify Path to Java Virtual Machine.
At least Java 8 is required to use the Grammar engine. Please specify the path to Java Virtual Machine
(JVM). You can skip this step and add the path to JVM manually in the '/opt/WSC/AppServer/AppServerX.xml'
file (the PathToJavaVirtualMachine tag).
Do you want to specify a path to JVM? Enter 'y' or 'n' [y]:
6. Verify Operability
Now you are ready to check if the installation process of the application went well, and all the components are functioning properly.Step 12: Verify the WSC Application Operability.
Check the application version, status, and access to the demo samples to verify if the application works properly after the installation.
a. Version:
https://localhost:2880/?cmd=ver
b. Status:
https://localhost:2880/?cmd=status
c. Default demo samples:
https://localhost/wscservice/samples/
WebSpellChecker Server Status
Here is a correct status response of WebSpellChecker Server:
{
    "SpellCheckEngine": {
        "active": true
    },
    "GrammarCheckEngine": {
        "active": true,
    },
    "EnglishAIModel": {
        "active": true
    },
    "GermanAIModel": {
        "active": true
    },
    "SpanishAIModel": {
        "active": true,
    },
    "EnglishAutocomplete": {
        "active": true,
    }
}
WebSpellChecker Server Version
Here is a correct version response for WebSpellChecker Server 5.x.x.x on a Linux server:
{
    "Copyright": "(c) 2000-2023 WebSpellChecker LLC",
    "ProductWebsite": "webspellchecker.com",
    "ProgramVersion": "5.x.x.x x64 master:xxxxxxxx (xxxx) #xx",
    "PackageVersion": "5.x.x.x master:xxxxxxx (xxx) #xx"
}
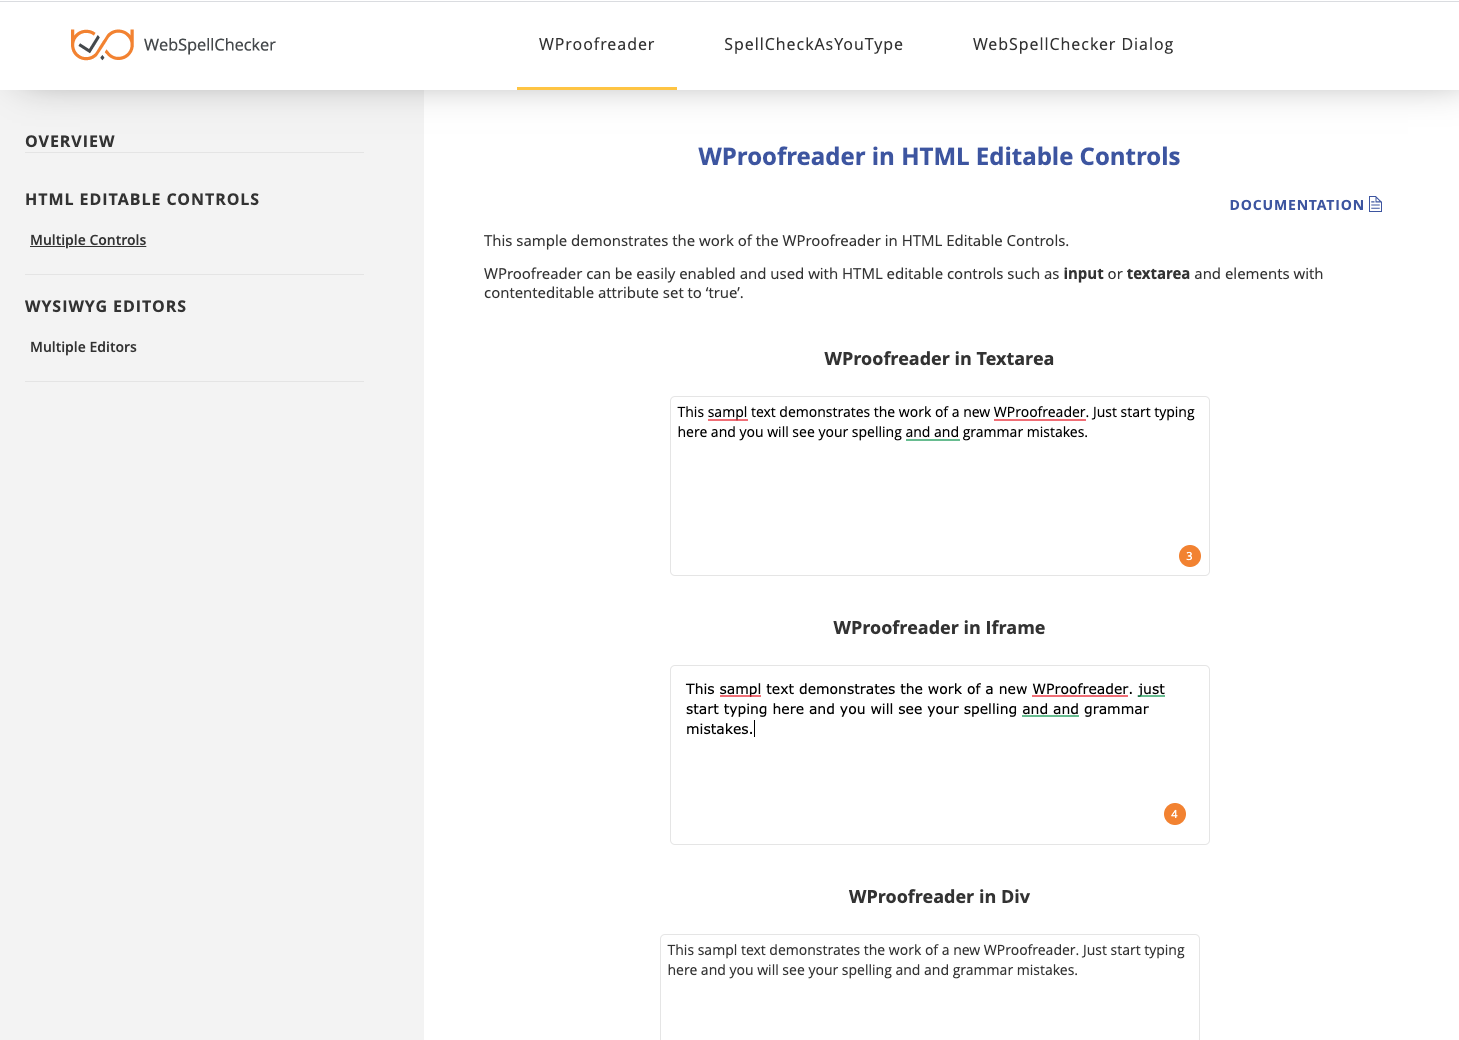
WebSpellChecker Demo Samples
Here is the correct view of the WebSpellChecker demo samples:
7. Configure WebSpellChecker on SELinux
Security-Enhanced Linux (SELinux) defines the access and transition rights of every user, application, process, and file on the system. SELinux manages the interactions of these entities using a security policy that specifies how strict or lenient a given Red Hat Enterprise/CentOS Linux installation should be. The default installation of the WebSpellChecker Server package is not intended for such a secured environment. It requires additional configuration steps from your side. Once the default installation has been performed, you can proceed with the SELinux configuration as described in this section. 2.1. Define security context for WebSpellChecker Server. To do so, specify the appropriate security context for all the files inside the installation directory using the following command: restorecon command sets files security context. Read more about SELinux/restorecon. 2.2. Allow network connection. To do so, allow Apache HTTP Server scripts and modules to connect to the network by setting a SELinux boolean to a given value. setsebool command allows setting a SELinux boolean value. Read more about SELinux/setsebool. Step below is required only if you have selected the installation of WSC Dialog Plugin for CKEditor (Option 4) or All products (Option 5) before. 3.3. Define Security Context for SSRV Script. Separately you need to set the appropriate security context for the SSRV.FGCI script. By default, SSRV.FGCI script has the default_t context type. This is incorrect security context for SELinux. If you try to view page, SELinux will deny access and log the error. Run the following command to set a proper security context type of httpd_sys_content_t for SSRV.FGCI:sudo /sbin/restorecon -R -v /<WebSpellChecker_Installation_Dir>/WSC
-R option changes files and directory file labels recursively.
-v option defines where the changes will take place, e.g. all the files under /<WebSpellChecker_Installation_Dir>/WSC will be changed.sudo /usr/sbin/setsebool -P httpd_can_network_connect=1
httpd_can_network_connect allows HTTPD scripts and modules to connect to the network.
-P option saves all pending values on the disk. Without -P option, only the current boolean value would be affected. After the reboot, it will be reverted.sudo chcon -t httpd_sys_content_t /opt/WSC/WebComponents/WebInterface/script/ssrv.fcgi
8. Integrate WebSpellChecker
Integrate WebSpellChecker products into your web application. Do not use 2880 port when accessing samples or other statics files like wscbundle.js file as such files will be processed by a selected web server or Java application server. 2880 is an internal port that WSC AppServer listens to and which is designed to process service requests (check spelling, grammar and others). Visit Products and integrations guides to learn more how to get started with WebSpellChecker products, one of them being WProofreader. Depending on the type of elements, namely HTML native elements or rich text editors where the spelling and grammar check is needed, you may choose and use the demo samples that are shipped with the package. To access the default samples, go to http(s)://your_host_name:port/wscservice/samples/ where port is the port of your web server or Java application server. The default samples contains all the necessary samples and instructions that will help with the integration of the WebSpellChecker products. Moreover, each sample contains detailed development documentation with a list of methods and parameters available.Option A. Integration Guides
Option B. Demo Samples