1. Download Installation Package
Download WebSpellChecker application package for a corresponding version of your operating system (OS). By default, it is provided on a license purchase or maintenance renewal. You can also request it contacting us at [email protected].
2. Install WebSpellChecker
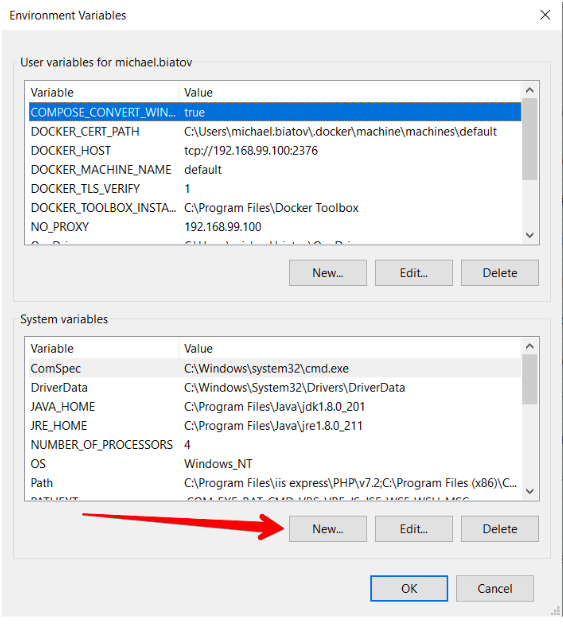
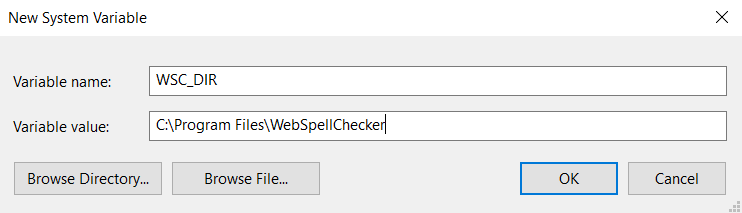
2.8 Select Java Application Server (Apache Tomcat, Oracle WebLogic Server, etc.) as a Java application server and configure its settings. This section outlines the details of wscservice.war deployment on Apache Tomcat (static files and all requests to engines are served) or binding only static files and the rest of the service requests such as spelling or grammar checking, directly connecting with AppServer. To bind only static files and the rest of the service requests such as spelling or grammar checking directly connecting with AppServer: 1. Stop Apache Tomcat before modifying the configuration files. 2. Add the following paths to the server.xml file inside the <Host name=“localhost” appBase="webapps" unpackWARs="true" autoDeploy="true"> tag: 3. If you plan to host WebSpellChecker and your web app(s) on different domains, you might face the CORS issues. To avoid this, add the Access-Control-Allow-Headers to enable cross-origin requests to the Apache Tomcat settings. For this you can use CORS filter. 4. Start Apache Tomcat after modifying the configuration files. To deploy wscervice.war on Apache Tomcat for binding static files and all service requests to engines such as spelling or grammar checking: 1. Create the WSC_DIR environment variable. It must be pointed to the WebSpellChecker Server installation directory. 2. Deploy wscservice.war on your Apache Tomcat Application Server. Note that the wscservice.war file should be unpacked automatically. Otherwise, unpack it manually.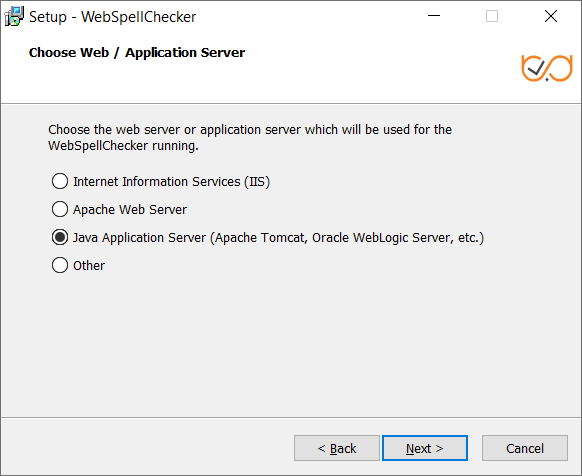
Option A: Binding of Static Files and Serving Service Requests by AppServer
<Context docBase="C:/Program Files/WebSpellChecker/WebComponents/WebInterface" path="/wscservice" />
<Context docBase="C:/Program Files/WebSpellChecker/WebComponents/Samples" path="/wscservice/samples" />
Option B: Serving both Static Files and Service Requests by Java Application Server (deployment of wscservice.war)

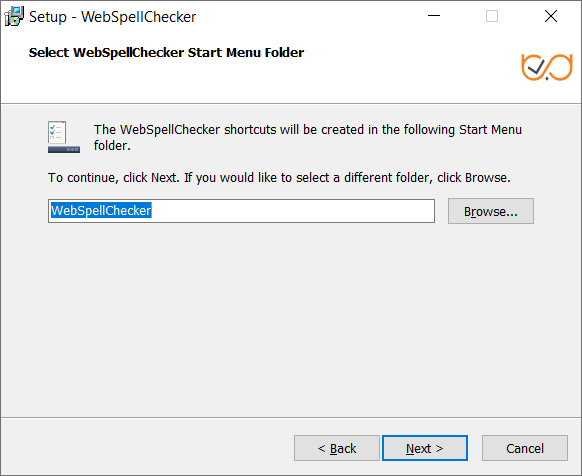
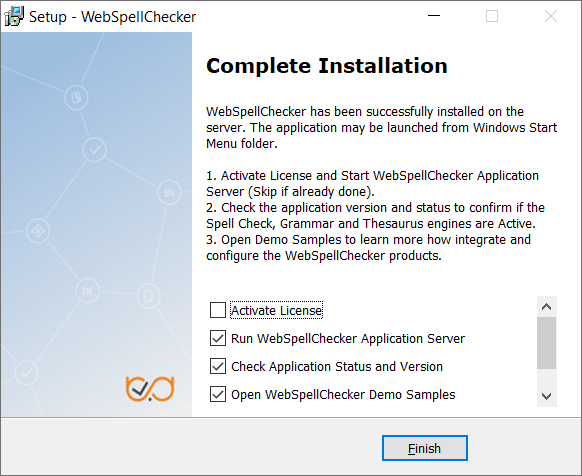
2.9. Define settings of the selected Java application server and click Next to proceed. Provide the name of the virtual directory for WebSpellChecker service. The default value is wscservice. 2.10. Select WebSpellChecker Start Menu folder and type a program name which will be used as a Start Menu item and click Next to proceed. 2.11. On this step the installer summarizes the information that you have entered on the previous steps. Click Install to proceed with the installation process or return to previous steps if you want to make any changes. 2.12. As soon as the installation process is finished, select Activate License if you are installing WebSpellChecker Server for the first time and then click Finish to close the installation dialog. You can view the samples and verify application operability in newly opened web browser tabs, namely Samples page, a page with Status check, and a page with Version check. Note that all these options are selected by default. The Activate License option is not selected only if you reinstall WebSpellChecker on the same server.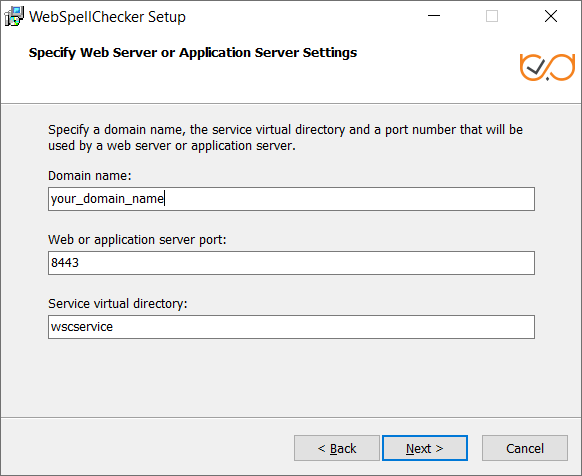

3. Activate License
Refer to the License Activation on Windows guide if you are installing WebSpellChecker Server for the first time to find out how to activate a license on a Windows-based server.
4. Configure Grammar Engine
The Grammar engine requires 64-bit version of Java 8 or higher. The installation wizard will try to auto-detect a path to an existing Java Virtual Machine (JVM). If no path is found, you will be asked to specify the path to JVM using the next window: You have an option to set a path to JVM manually or change the auto-detected path to your custom one. Refer to the Enabling Grammar Engine to find out more.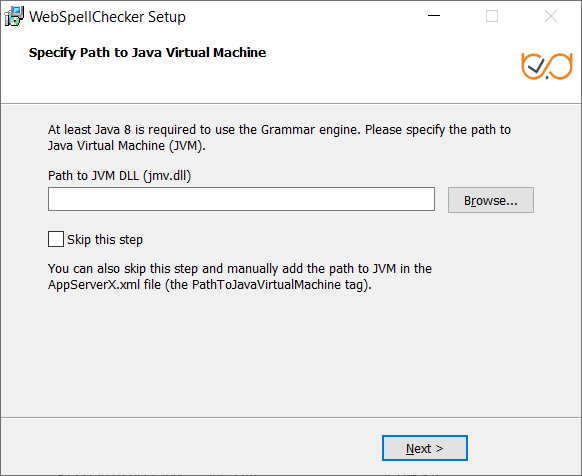
5. Verify Operability
To verify if WebSpellChecker Server works properly, you need to start AppServer Service and check its status and version. Option A (Direct connection to the AppServer Service): The port 2880 is the default port used by AppServer Service. If you specified a custom port number for the AppServer Service, use the next form of the link: http(s)://your_host_name:port/?cmd=ver Option B (Connection to the Service via FastCGI, SSRV.cgi component) and Application Server): If you specified a custom port number for Apache Tomcat, use the next form of the link: http(s)://your_host_name:port/spellcheck/script/ssrv.cgi?cmd=ver
WebSpellChecker Version
Here is a correct version response for WebSpellChecker Server 5.5.x on a Windows server:
(c) 2000-2019 WebSpellChecker LLC All rights reserved. | |
| Program name: | ssrv |
| Program version: | 5.5.x.x x64 master:xxxxxxx (xxx) #xx for Windows |
WebSpellChecker Server Status
Here is a correct status response for Spell Check, Grammar, and Thesaurus engines of WebSpellChecker Server:
Spell Check Engine is ACTIVE
Grammar Engine is ACTIVE
Thesaurus Engine is ACTIVE

Please find below the description of the statuses that are received from SSRV component:

'ACTIVE' status means that an Engine works properly.
'NOT ACTIVE' status means that an Engine is not enabled or does not work properly.

For more details and assistance, please contact the technical support team at [email protected].
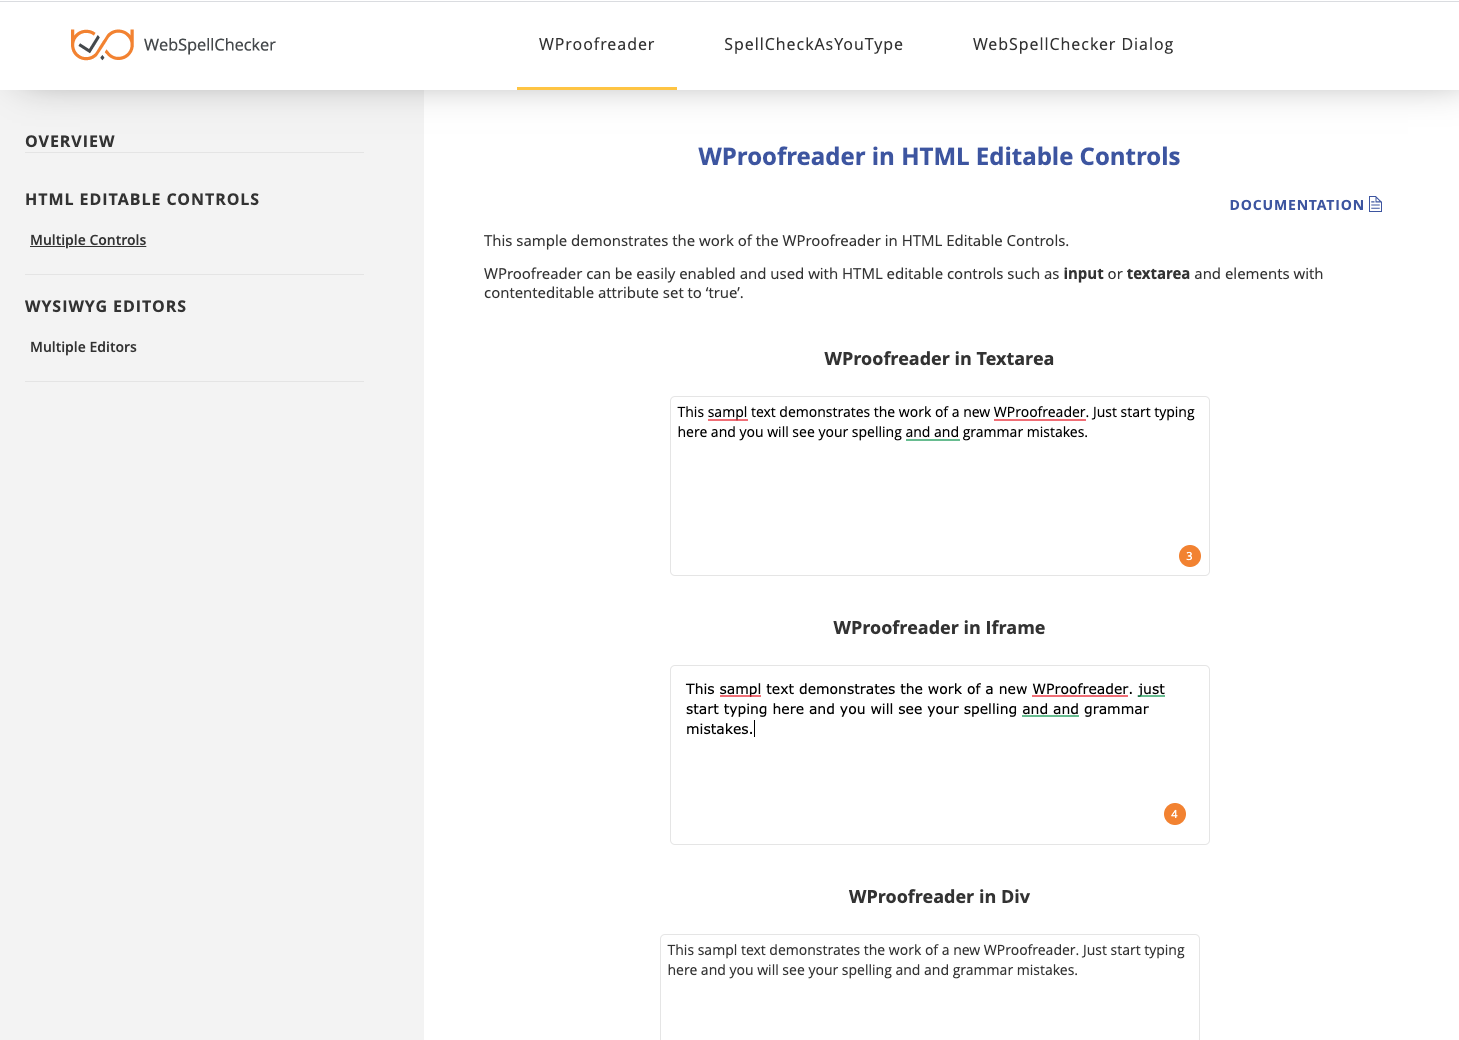
WebSpellChecker Demo Samples
Here is the correct view of the WebSpellChecker demo samples:
6. Integrate WebSpellChecker
Integrate WebSpellChecker products into your web application. Do not use 2880 port when accessing samples or other statics files like wscbundle.js file as such files will be processed by a selected web server or Java application server. 2880 is an internal port that WSC AppServer listens to and which is designed to process service requests (check spelling, grammar and others). Visit Products and integrations guides to learn more how to get started with WebSpellChecker products, one of them being WProofreader. Depending on the type of elements, namely HTML native elements or rich text editors where the spelling and grammar check is needed, you may choose and use the demo samples that are shipped with the package. To access the default samples, go to http(s)://your_host_name:port/wscservice/samples/ where port is the port of your web server or Java application server. The default samples contains all the necessary samples and instructions that will help with the integration of the WebSpellChecker products. Moreover, each sample contains detailed development documentation with a list of methods and parameters available.Option A. Integration Guides
Option B. Demo Samples